A GTA V asset gallery is a visual catalogue of the game's built-in assets: clothing drawables, hats and other ped props, world props, weapons and particle effects, each shown with the name or ID you need to use it. FiveM server owners use these galleries to find the right hat for a uniform, the right prop for a map or the exact torso ID for a job outfit, without guessing numbers in game.
Vanilla assets are already in every player's copy of GTA V, so you never download them. You only need their name or ID. For clothing you add yourself, a browser gallery is the fastest check: drop a pack into the FiveM clothing pack manager and preview every item on a male or female freemode ped before it goes on your server.
What people mean by an asset gallery
The phrase covers a few different things, so it helps to know which one you need:
Clothing galleries: every drawable and texture for each freemode component, such as tops, legs, shoes and masks.
Ped prop galleries: hats, glasses, earrings, watches and bracelets, which GTA V treats as props rather than components.
World prop galleries: the object models you can spawn by name, like barriers, chairs and signs.
Weapon and particle galleries: weapon models and the game's particle effects, used for scripts and scenes.
The in-game Gallery: your Snapmatic photos, which is a different thing entirely and covered at the end.
Browsing vanilla clothes and hats
Freemode clothing is split into numbered components, and each component has numbered drawables with numbered textures. A gallery shows you the drawable and texture numbers. You then pass those numbers to the game.
Component and prop slots
Component 1: masks
Component 3: arms and torso (the hands and arms under a top)
Component 4: legs
Component 5: bags and parachutes
Component 6: shoes
Component 7: accessories such as chains and ties
Component 8: undershirts
Component 9: body armour
Component 10: decals and badges
Component 11: tops and jackets
Prop 0: hats and helmets
Prop 1: glasses
Prop 2: ears
Prop 6: watches
Prop 7: bracelets
Hats are the most common source of confusion. Searching a clothing list for hats fails because hats live in prop slot 0, not in a component. Look for a gallery section labelled props or accessories, and make sure you are viewing the right ped, since male and female freemode peds have separate numbering.
Applying an item you found
Once you have the numbers, a client script can apply them directly. This is useful for testing an outfit before you add it to a clothing menu or job config:
local ped = PlayerPedId()

-- component: ped, componentId, drawableId, textureId, paletteId
SetPedComponentVariation(ped, 11, 55, 0, 0) -- top
SetPedComponentVariation(ped, 3, 0, 0, 0)   -- arms to match

-- prop: ped, propId, drawableId, textureId, attach
SetPedPropIndex(ped, 0, 46, 0, true)        -- hat

-- remove a hat
ClearPedProp(ped, 0)If a top shows gaps at the shoulders or wrists, the arms component (3) does not match it. Try a few arm drawables until the seams close. Most clothing menus handle this for players, but job outfits set in config files need the right pairing.
Building a gallery of your own addon clothing
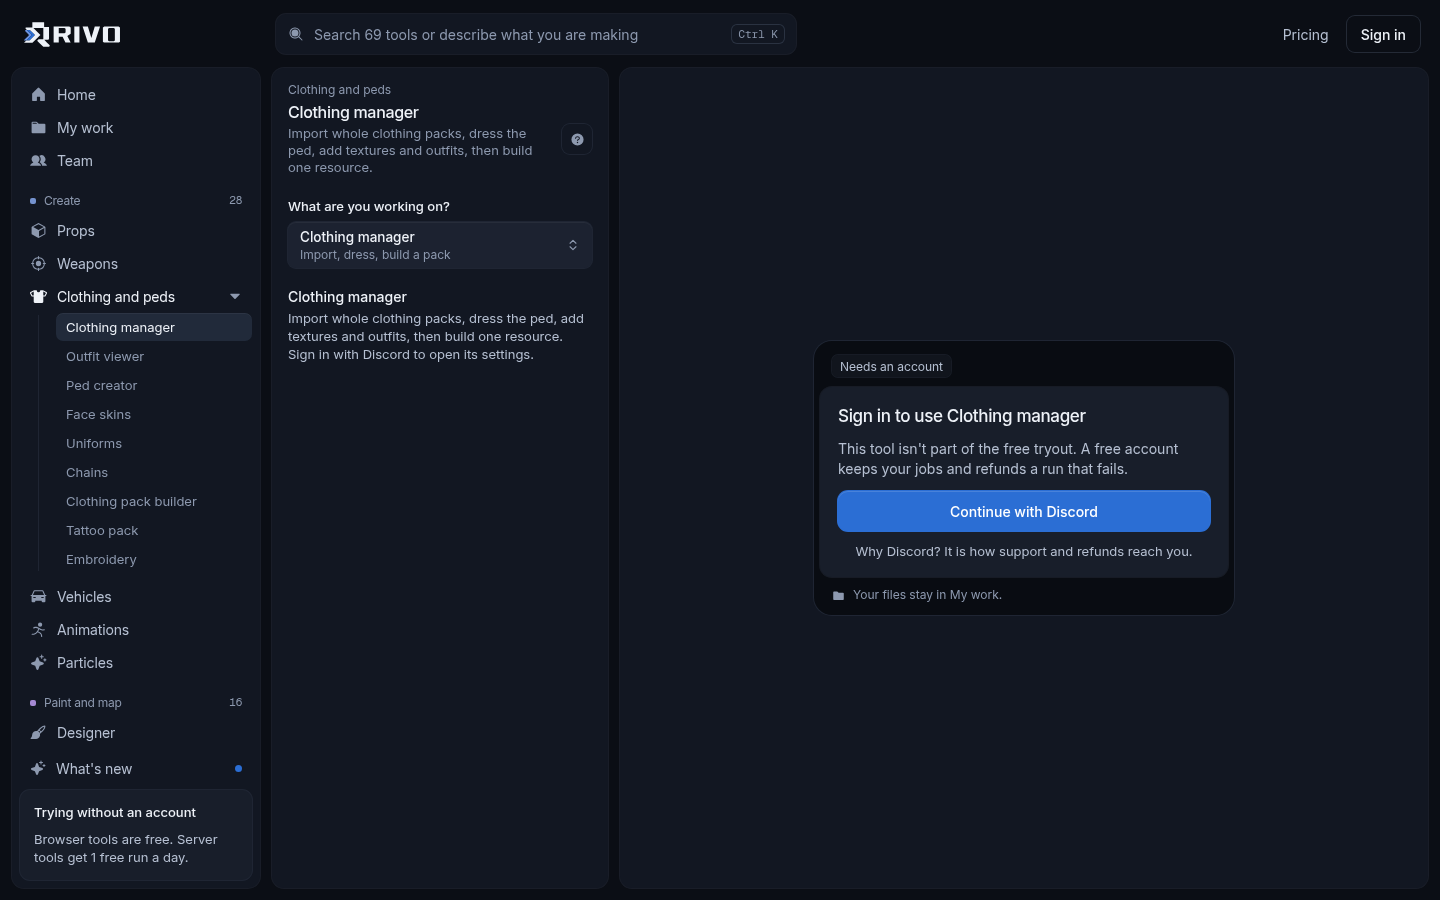
Public galleries only show vanilla items. Addon clothing you stream yourself gets drawable numbers after the vanilla ones, and you need to see it on a ped to know what you actually have. Rivo's clothing pack manager works as a private gallery for that:
Open the clothing pack manager and drop a clothing pack, an EUP pack or loose ydd and ytd files.
Preview each item on a male or female freemode ped in 3D, and fix any names or slots that came in wrong.
Add textures and outfits where you need them.
Build everything into one streamed clothing resource, which includes the ymt it needs, then ensure it in server.cfg.
The full feature list is on the clothing pack manager page. If you are starting from a list of drawables rather than a finished pack, the YMT generator creates the ymt, the fxmanifest and a naming guide from your drawable and texture counts.
Checking a single item
For one ydd, the FiveM clothing viewer opens it in 3D in your browser. You can orbit the model, pick a material slot and swap its textures live, which is a quick way to confirm every texture variation before you number it in a menu.
Combining several packs
Running more than one addon clothing pack often causes two items to fight over the same slot. The clothing pack merger combines packs into one resource and renumbers the drawables so nothing clashes. Large packs are also a common cause of texture loss, and the clothing optimizer shrinks the textures embedded in each ydd without touching the geometry.
Props, weapons and particles
World props are spawned by model name, so a prop gallery is really a list of names with pictures. After you find one, request the model and create it:
local model = joaat('prop_barrier_work05')
RequestModel(model)
while not HasModelLoaded(model) do Wait(0) end

local coords = GetEntityCoords(PlayerPedId())
local obj = CreateObject(model, coords.x, coords.y, coords.z, true, true, false)
PlaceObjectOnGroundProperly(obj)
SetModelAsNoLongerNeeded(model)If the prop you want does not exist in the game, the FiveM prop generator makes one from a photo, a text prompt, a Sketchfab model or your own GLB, with collision, packed as a resource that spawns by name like any vanilla prop.
Inventory icons: the inventory icon generator renders transparent PNGs from a game prop, your own model or a photo, sized for ox_inventory and qb-inventory.
Weapons: the weapon viewer opens a weapon ydr in 3D and lets you swap textures per material slot.
Particles: the particle creator lets you browse and play all 2,916 GTA V particle effects in your browser, then change colors, size, texture and motion and download your own particle dictionary.
Finding assets inside resources you already have
Sometimes the gallery you need is of your own server. A few free checks help here:
The vehicle spawn code finder lists every spawn code in a vehicle pack, with tuning parts filtered out.
The asset conflict finder shows stream assets and spawn codes that share a name across resources, where only one copy wins in game.
The server load checker ranks your resources by texture and model size, so you know which assets to optimize first.
Free asset downloads and safety
Searches for a free asset gallery download usually mean addon clothing, props or vehicles made by the community. Only use assets the creator allows you to use on a server, and keep their credits. Many free singleplayer mods can be turned into server resources with the GTA 5 mod to FiveM converter, explained in the GTA 5 mods converter guide.
Anything that ships with scripts from a source you do not know should go through the backdoor and malware scanner before it reaches your live server. Asset-only packs carry less risk, but downloads that bundle a Lua or JS file deserve a check.
Viewing the in-game Gallery in GTA 5
If you searched how to view the gallery in GTA 5, you likely mean Snapmatic photos rather than modding assets. Open the pause menu and go to the Gallery tab to see the photos you have taken with the in-game phone camera. From there you can view, upload or delete them. Uploaded photos are tied to your Rockstar account, so they are viewed through the game or your account rather than browsed as image files on disk.
For server work, the useful gallery is the asset one: find the vanilla ID or name, test it with a quick script, and preview your own addon clothing and props in 3D before they go live.